
What to Send Before a Blinds Consultation: A Practical Photo and Brief Checklist

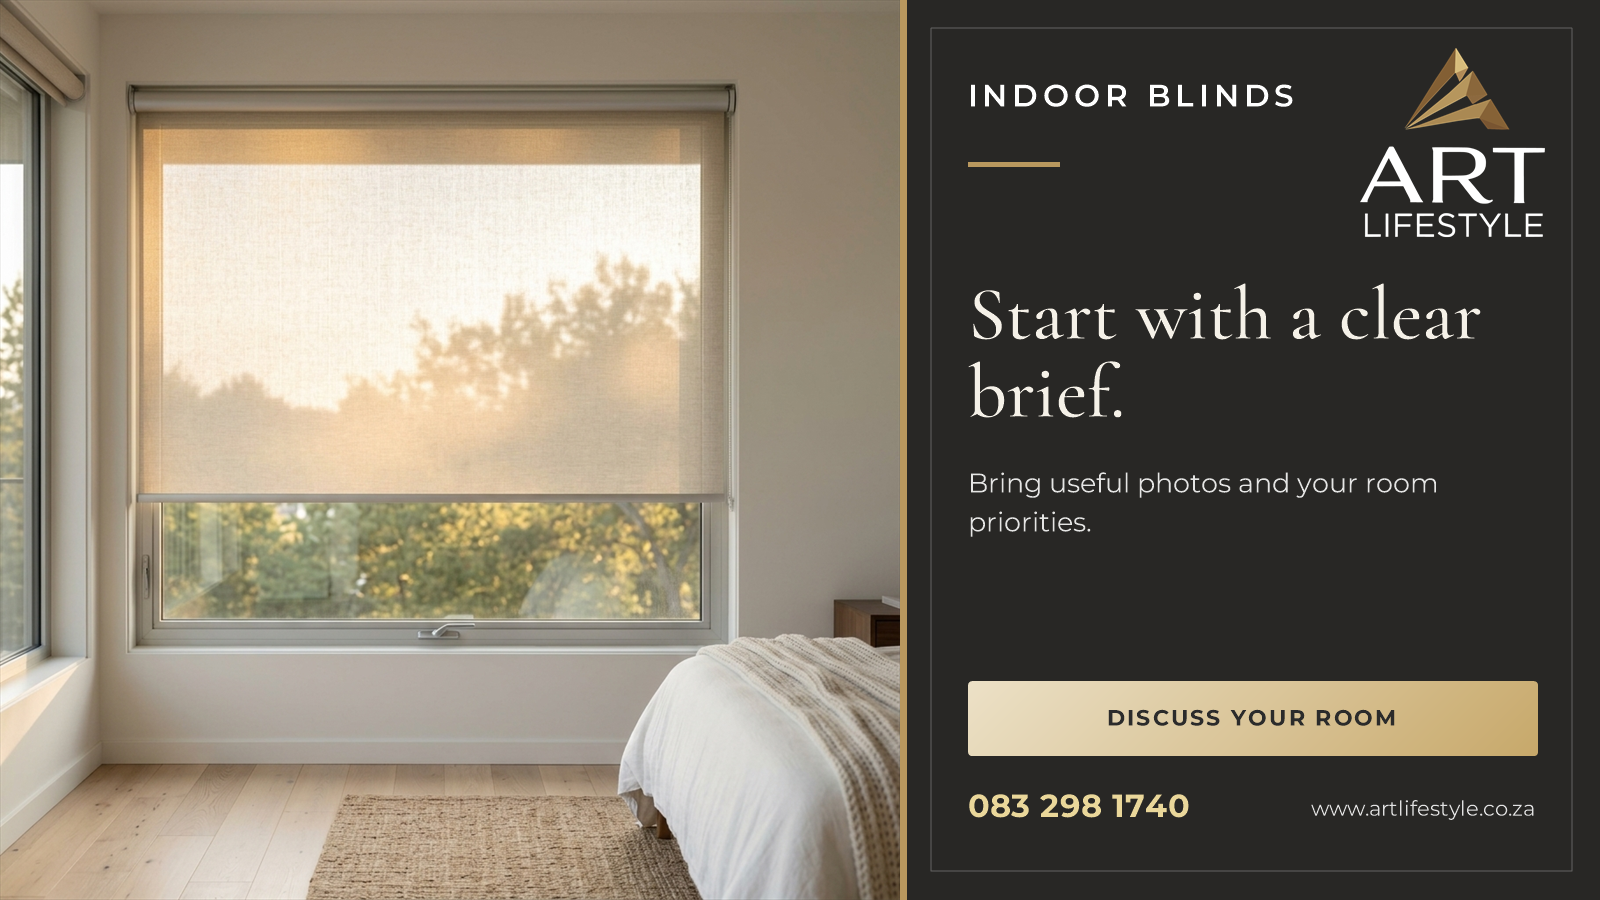
You do not need to know the final blind system before contacting Art Lifestyle. A few useful photographs and a clear description of the problem can provide a better starting point than a product name alone.
The purpose of an initial brief is to explain the space and the result you want. It does not replace a site assessment or establish final manufacturing measurements. Use this checklist to make the first conversation specific to your home or project.
1. Start with the location and the rooms
Include your suburb or project location, the rooms involved and an approximate window or opening count. This helps the team discuss service availability and understand the scale of the enquiry.
If several spaces are involved, give each one a simple name: “study window”, “main bedroom” or “patio opening beside the garden”. Use those same names on your notes and photos so that details do not become mixed between openings.
2. Describe the result you want
Choose the problem that matters most for each space. It might be screen glare, a street-facing window, early morning light or a patio that is uncomfortable at a particular time of day.
Add when the problem occurs. “The television reflects the window late in the afternoon” says more than “the lounge is bright”. For privacy, explain whether the concern is during the day, after dark or both. For an outdoor area, describe the weather direction you have actually noticed.
You can include a preferred look, but let the practical requirement lead the brief. The team can then discuss options from the indoor-blind range or outdoor-blind range against that requirement.
3. Take photographs that show the context
Begin with a wide view of the whole wall or patio bay. Include the top and sides of the opening, nearby furniture and any door that could affect the layout. A close-up of the glass alone may miss the surfaces where the product would need to be fitted.
Then add a side view showing the recess, handle and sill. If the window opens into the room, show that position too. For a patio, photograph the beam above the opening, both side supports and the floor area below.
- Wide view: the full opening and its surroundings.
- Detail view: handles, recesses, existing fittings or obstructions.
- Movement view: the open window or door where relevant.
- Problem view: the light or exposure at the time it bothers you, if practical.
Keep each photo associated with its opening name. There is no need to create a polished presentation; a clear, organised set is more useful.
4. Label approximate dimensions clearly
If you can safely obtain approximate widths and heights, include them with the units. State what you measured: the recess, the glazed area or the full patio opening. If you are unsure, say so.
Do not deduct fitting allowances or treat these figures as an order size. Final dimensions depend on the chosen product, mounting method, clearances and actual site conditions. Existing blinds may also have been sized for a different arrangement, so their dimensions are not automatically suitable for replacements.
For high or difficult-to-reach openings, a photograph with a description of the height and access is a useful first step. The next measurement arrangement can be discussed with the team.
5. Include controls and obstacles
Explain how the space is used and whether reaching the blind would be awkward. If motorisation interests you, mention it without assuming that every system will suit the opening.
Identify handles, security fittings, shelves, curtain tracks, cupboards and furniture that need to remain accessible. For roller blinds, the position of the control and the path of the fabric belong in the final fit discussion. Outdoor layouts also need attention to access routes and the structure around the opening.
A short brief you can copy
Location: [suburb or project area]
Space: [room or patio-opening name]
Opening count: [approximate number]
Main priority: [glare, privacy, darkness, shade or another need]
When it matters: [time of day or particular conditions]
Approximate dimensions: [width × height, units and what was measured, or not yet measured]
Preferred look or product: [if known]
Controls and access: [manual or motorised interest, handles and obstructions]
Attached photos: [wide view and relevant details]
What happens after the first brief?
Art Lifestyle can discuss suitable options, confirm service availability and explain the next step for measurement and quotation. Product selection, fabric, fit and installation requirements still need to be agreed for the actual opening.
A good first message does not need to answer everything. It simply makes the important questions visible so the consultation can move towards a clear, measured specification.
Visit www.artlifestyle.co.za or WhatsApp 083 298 1740 with your location, photos and brief to begin.